Another subtle but (I think) effective touch up to an old favorite with a minor tweak in Adobe Camera Raw and Topaz Adjust.
The Before Image
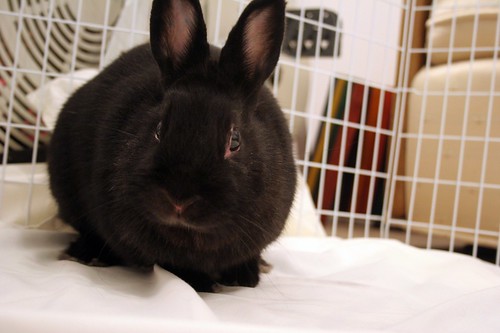
Overall a good image to start with. Unfortunately it was not shot as a RAW file, so my options in ACR for recovering details in the shadows was somewhat limited. Fear not, though, as Topaz Adjust was able to help out there.
The After Image
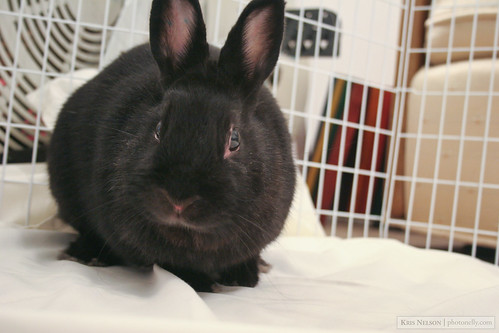
The first change I made was in ACR to adjust the White Balance, since this was taken indoors and before I really knew how to use the Custom WB feature on my Canon 20D. You can see that effect in the white sheet under our furry friend here. From there, I increased the exposure compensation just a tad, but not too much because this was not a RAW file.
Next up, Topaz Adjust had its turn using the Exposure Correction preset and tweaking the Detail tab just a bit. You can see from the detail around his eyes and nose where there’s more detail and texture from his fur. In the resulting image, his fur does end up looking a little lighter than it was in real life, but I’m willing to except that for the additional detail it provides.
Missing Our Little Friend
The photo is more special now than ever because our furry little friend is no longer with us. He passed last summer while fighting with a few medical issues on and off. This is by far my favorite image of Sky, and seeing it makes me wish I could still take more.
Thoughts?
Just like all editions of the Before and After series, let me know what you think of these adjustments and any other suggestions you might have.
– Kris